
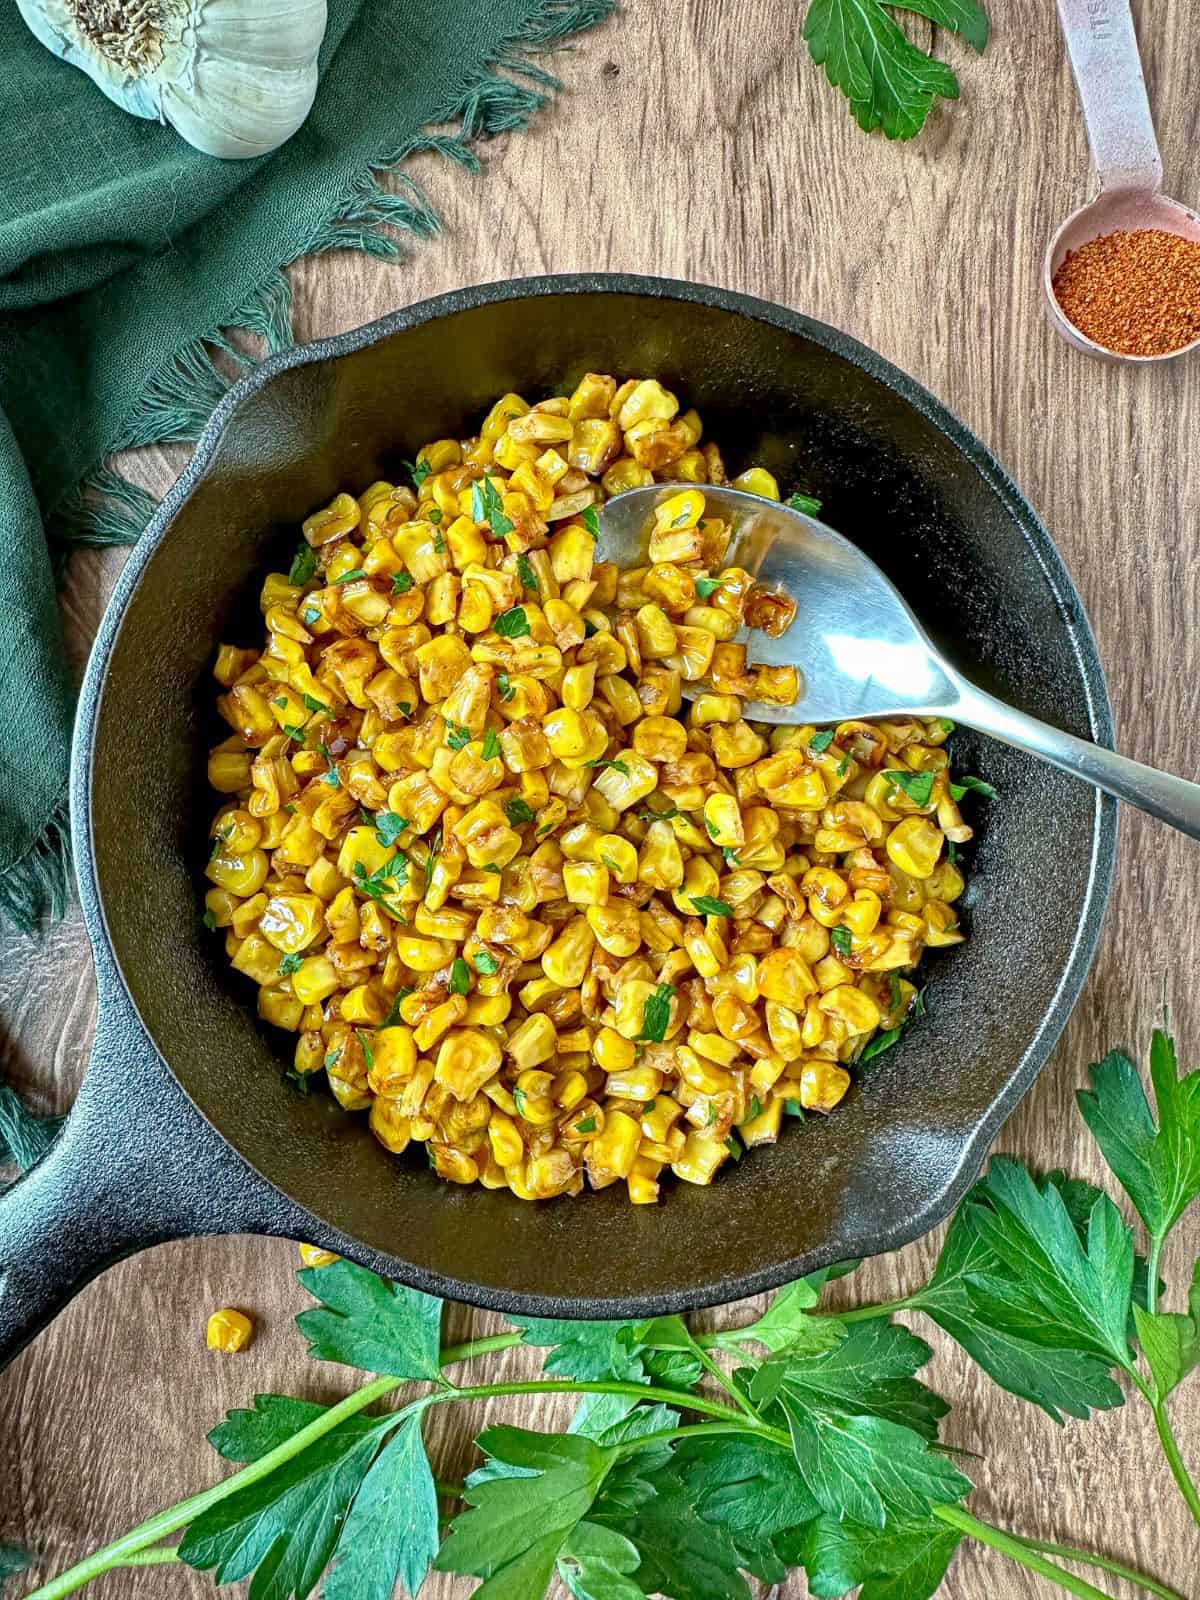
This quick and easy charred corn recipe creates perfectly caramelized and boldly seasoned corn kernels, whether you're using frozen, fresh, or canned corn. Made in a skillet on the stovetop using pantry ingredients, this Mexican-inspired side dish is ready in just 10 minutes, making it a flavorful addition to any meal.
Corn is a staple in Tex-Mex cuisine, adding sweetness and texture to so many beloved dishes-just like my creamy, flavor-packed jalapeño creamed corn. Whether served as a simple side dish or a taco topping skillet roasted corn will be a staple in your kitchen!

Save this Recipe!
Jump to:
Why You'll Love this Recipe
This quick & easy skillet corn delivers grilled-like flavor in just 10 minutes-no grill needed! The high heat caramelizes the corn, intensifying its natural sweetness while creating a crispy, golden-brown exterior. I'll often use this recipe as a base when making Mexican street corn pasta salad.
The sweet, smoky, buttery, and slightly spicy flavors make it an instant favorite, whether you're meal-prepping for the week or whipping up something last minute. Plus, it's a fantastic way to spruce up canned corn and give it a bold, Tex-Mex twist!
Skillet charred corn is incredibly versatile, it's one of my go-to simple side dishes, I especially love it as a side dish for shrimp tacos. I've also been known to use it as a topping on my BBQ brisket tacos and beer battered shrimp tacos. YUM!
Ingredients

- Corn: Canned sweet corn or frozen corn provides convenience without sacrificing taste. You can also use fresh corn on the cob, if it's in season! Through trial and error and recipe testing, I found that I prefer using frozen corn.
- Oil: Using a high heat oil is essential for achieving a char on the corn without causing it to burn. I prefer to use avocado oil because it has a high smoke point, making it perfect for high-heat cooking. You can also use canola or vegetable oil.
- Butter: A little butter at the end adds richness and helps coat each kernel in buttery goodness.
- Taco seasoning: If you don't have taco seasoning, use a mixture of ground cumin, smoked paprika, garlic powder, onion powder, salt, and black pepper. Add a pinch of cayenne pepper for extra spice.
- Lime juice: A fresh squeeze of lemon brightens the dish and balances the smoky flavors. Don't underestimate what a squeeze of citrus can do to a dish!
Canned Corn Vs. Frozen Corn
Both canned and frozen corn work well for this recipe, and the best choice depends on your needs.
Canned corn is pre-cooked, making it a quick and convenient option. Since it's stored in liquid, it has a softer texture but is always pantry-ready for last-minute meals.
On the other hand, frozen corn is flash-frozen at peak ripeness, preserving its natural sweetness and firmer bite. It chars beautifully in the skillet, giving you a slightly crisper texture and fresher flavor.
If you prefer a softer bite, go for canned; if you want a little more texture and natural sweetness, frozen is the way to go! And when in doubt, the most convenient choice is the best choice!
How to Make Charred Corn
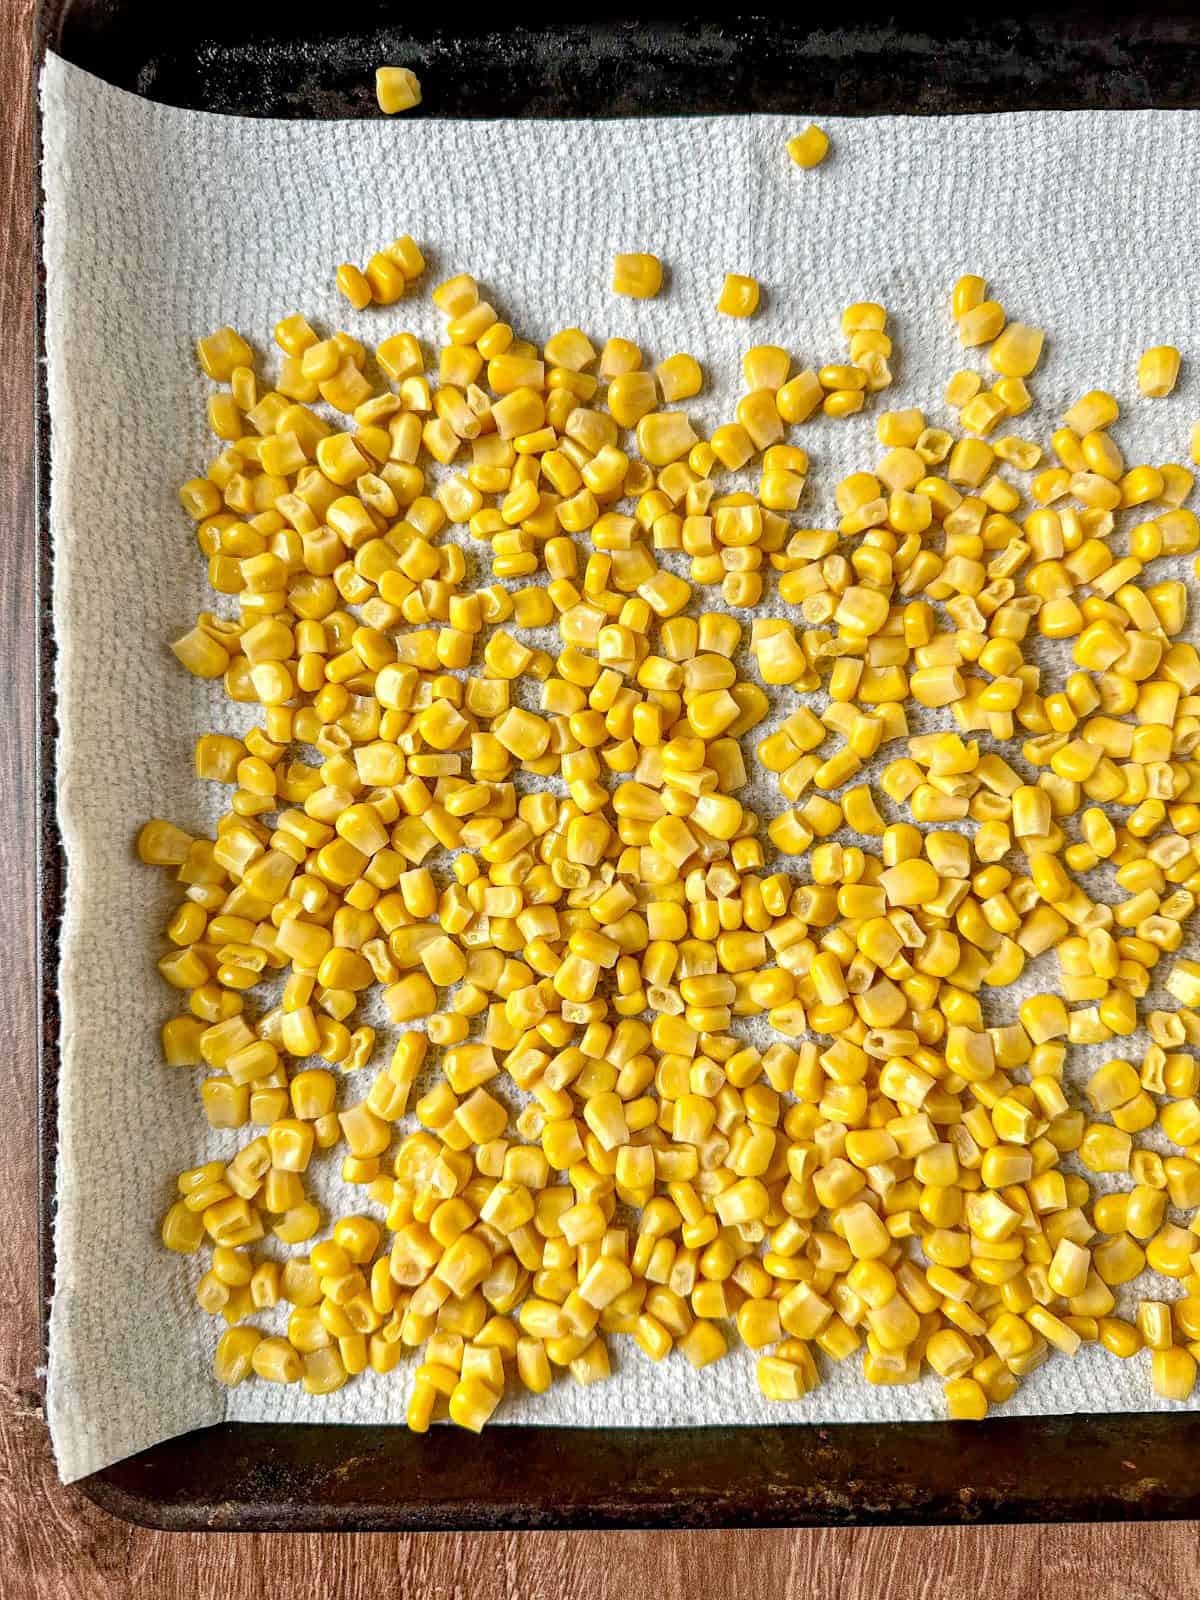
Step 1: Whether you are cooking canned corn or frozen corn that has been thawed, pat the corn kernels dry before cooking.
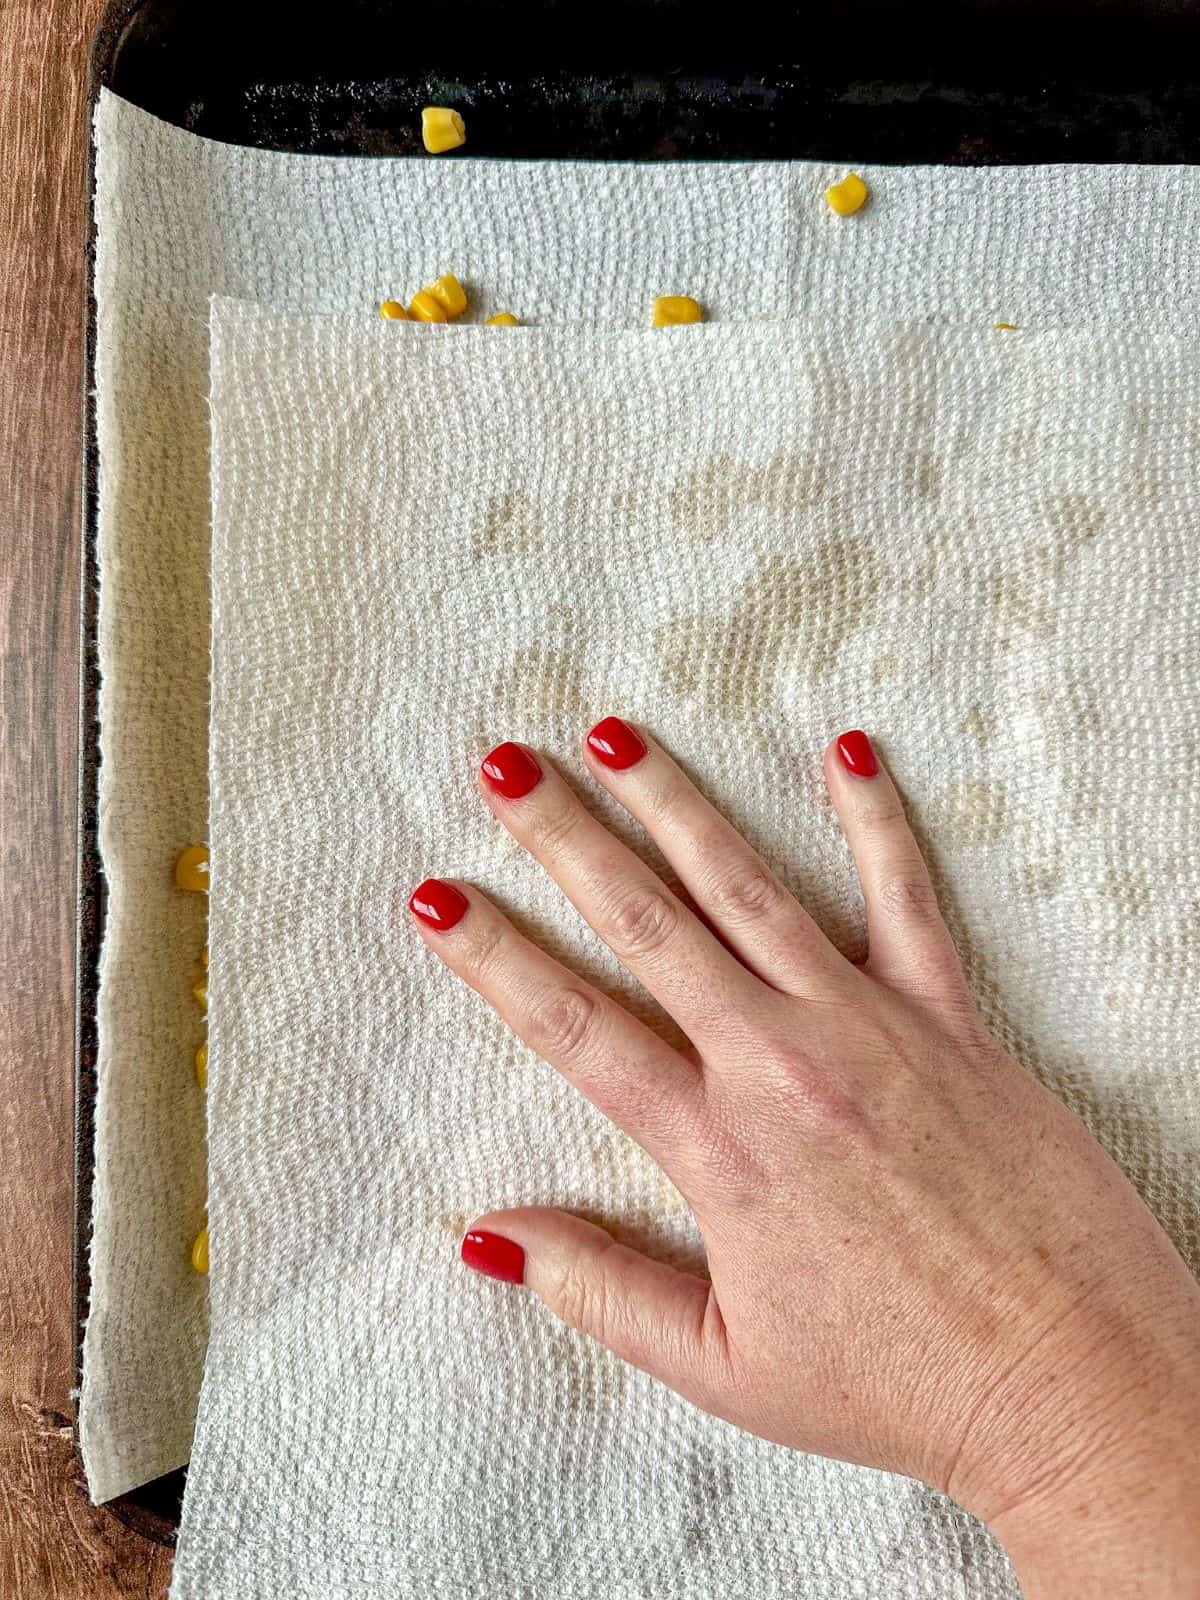
Step 2: Sandwich the corn kernels between two paper towels and press gently to remove excess moisture. You may need to repeat this step or use multiple paper towels until the corn is dry.
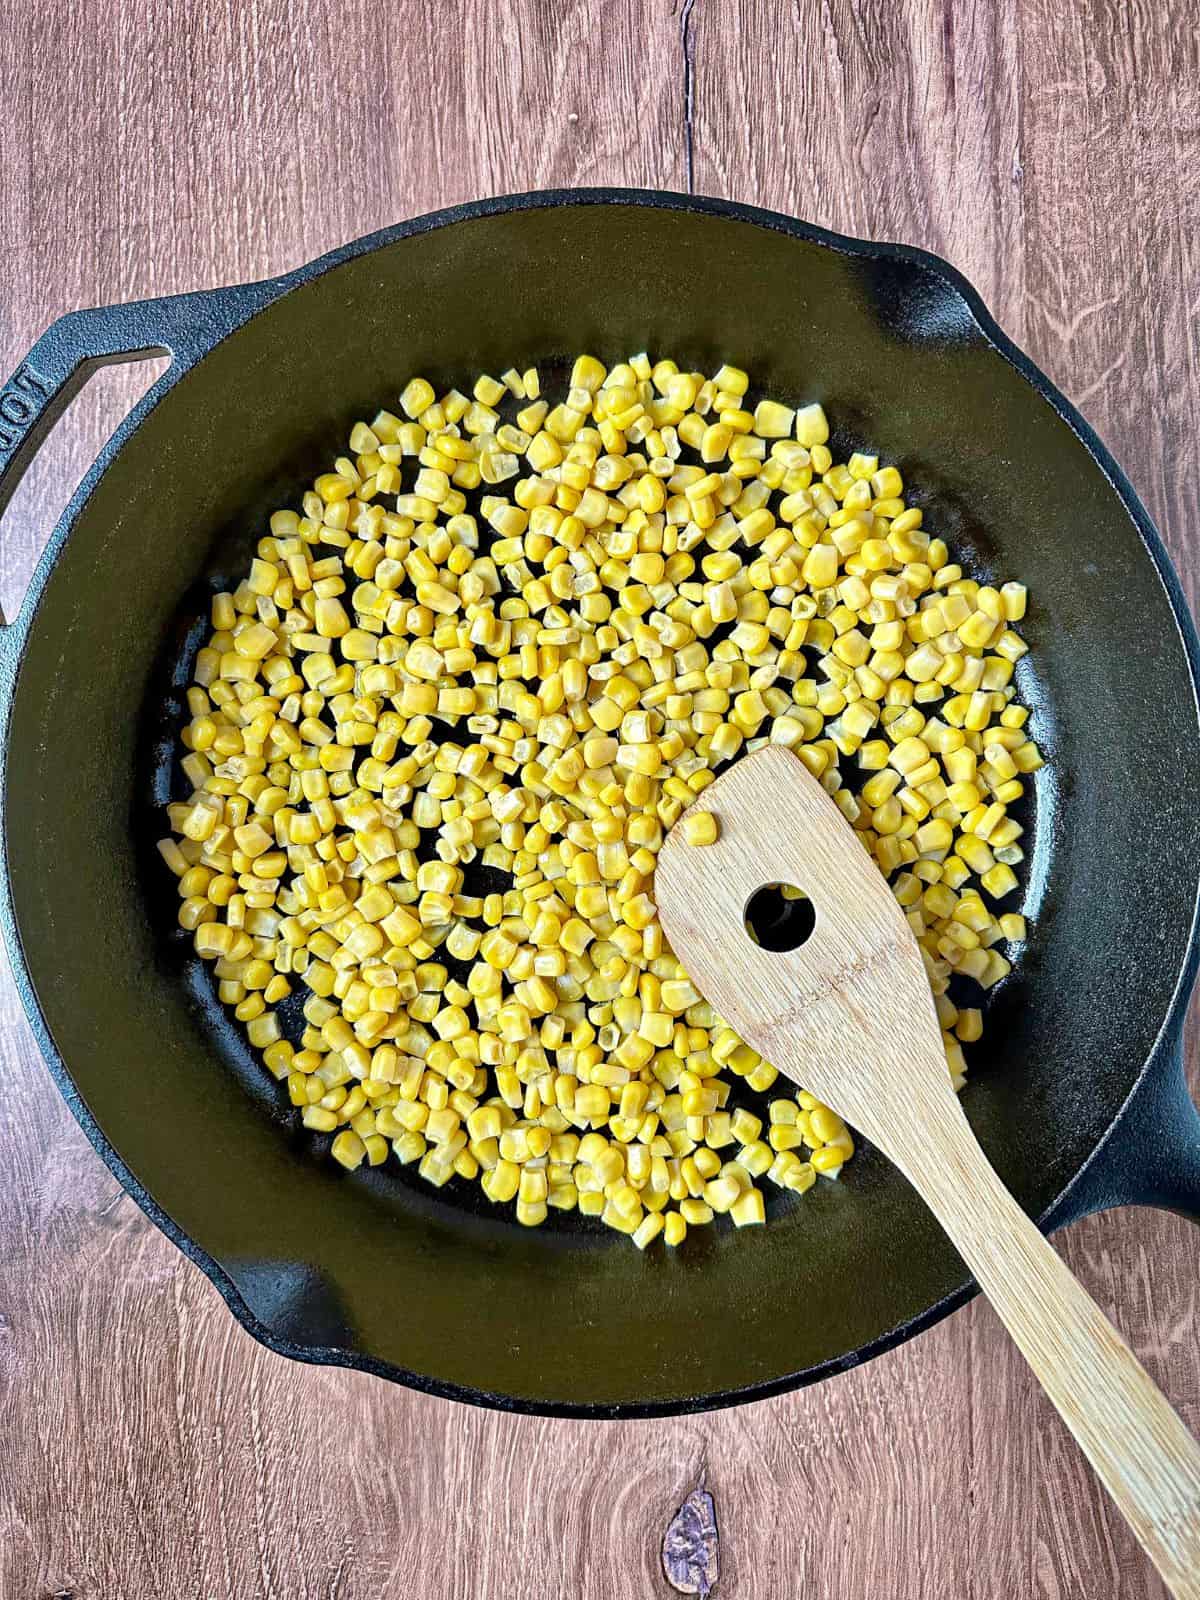
Step 3: Heat a cast iron skillet to medium-high heat. Add oil and arrange corn in a single layer in the cast iron skillet. Cook undisturbed for 3-5 minutes.
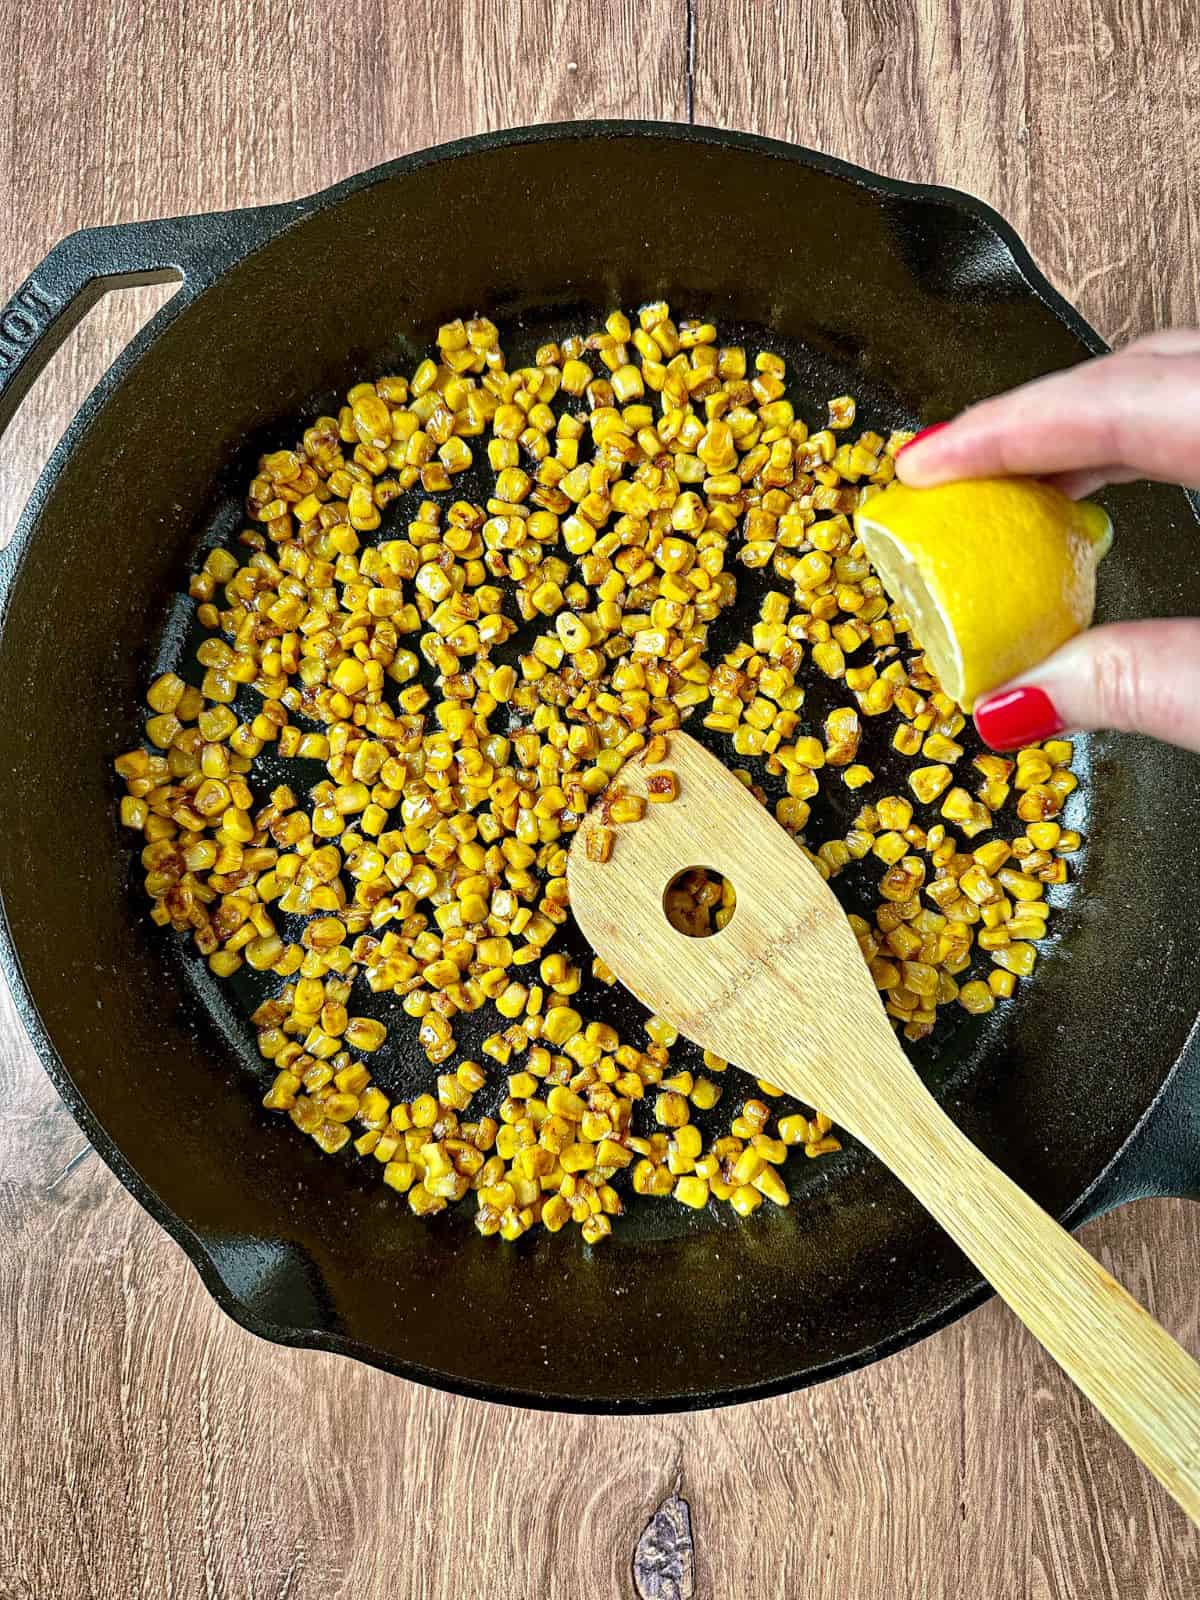
Step 4: Once the corn is charred, turn the heat to low and add butter, garlic, and taco seasonings, cooking for one more minute. For a bite of freshness, squeeze lime juice over the corn and sprinkle with fresh cilantro and cotija cheese, if desired.
Expert Tips
Pat the corn dry. Don't skip this step. Excess moisture can steam the corn instead of achieving the desired char and caramelization.
Use a splatter screen. Hot corn pops! Use a splatter screen on top of the skillet to prevent the corn from popping out.
Preheat the cast iron skillet. To get the best results, make pan roasted corn in a cast iron skillet that has been preheated. This helps in quick and even cooking. This intense heat is crucial for caramelizing the sugars in the corn and creating a charred exterior.
Avoid over-stirring. Letting the corn sit undisturbed allows it to develop a deep, smoky char before flipping. Keep a close eye on the corn to achieve a deep char without burning. Rotate the kernels periodically for even cooking.
Storage
Store cooled leftovers in an airtight container for up to 4 days in the refrigerator. This is a great make ahead side dish, simply cook the corn in advance and store in the fridge until ready to use. To reheat, warm in a skillet over medium heat or microwave in short bursts.
To freeze, spread cooked corn on a baking sheet, freeze, then transfer to a freezer-safe container for up to 3 months. I like a have a batch of this fire roasted corn on hand to add a pop of flavor to tacos and salads.
Recommended


If you try this recipe or any recipe from Happy Honey Kitchen, please rate the recipe and leave a comment below! Enjoy!
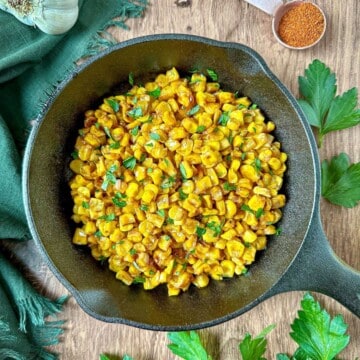
10-Minute Skillet Charred Corn
Save this Recipe!
Equipment
- cutting board
- knife
Ingredients
- 3 cups corn canned, frozen, or fresh off the cob
- 1 Tablespoon avocado oil or other high heat oil
- 2 Tablespoons butter
- 2 teaspoons homemade taco seasoning
- 1 Tablespoon lime juice freshly squeezed
- Optional toppings: fresh cilantro and cotija cheese
Instructions
- Use paper towels to pat dry drained canned corn or thawed frozen corn to remove excess moisture.
- Heat a cast iron skillet to medium-high heat. Add oil and arrange corn in a single layer in the skillet. Cook undisturbed for 3-5 minutes. Use a splatter screen to prevent popping.
- Once corn is blackened, reduce heat to low. Add butter, garlic, and Cajun seasoning. Cook for one minute longer. For added freshness, squeeze lemon juice over the corn and sprinkle with fresh parsley. Serve warm.
Notes
- Two 12 ounce cans of corn will give you 3 cups of corn drained.
- If you don't have taco seasoning, use a mixture of cumin, smoked paprika, garlic powder, onion powder, salt, and black pepper. Add a pinch of cayenne for extra spice.
- Monitor the corn closely to attain a rich char without any burning.
- A splatter screen is beneficial for preventing hot corn from popping out of the skillet.


Kim Savage
Easy, delicious recipe!